
Now that I’m back in Chile for a short trip, I figured I’d share what happened last time I was there. Besides having to entertain 50 high school students for an hour and a half, that is.
The main goal of my August trip was to unpack the six colored filters that will be used in the LSST Camera during observations. Five of these filters live inside the camera body at any given time on a carousel, and they can be automatically switched out when needed. (Here’s a cool animation of the filter changing mechanism if you’re interested.)

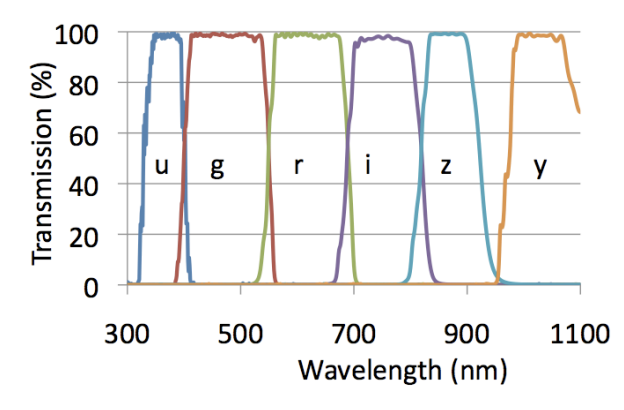
The six filters (usually called u,g,r,i,z,y) have different coatings such that they each let through a different set of wavelengths from the electromagnetic spectrum. (Graph above from the LSST Science Book.) Basically, by blocking out all but a small bandwidth of light, you can get much more detail in that specific bandwidth. If you take an image of the same part of space with each filter individually, then merge them using computer software, the resulting image is much more detailed than just taking a photo without any filters at all.
In fact, because we have these fancy filters, we spent several hundred million dollars to build a camera that effectively only takes photos in black and white. It’s pretty wild to think about. But our set of filters is much better at defining specific colors of the universe than the system that regular digital cameras use, which involves splitting the beam and measuring the relative intensity of red, blue, and green light directly at the sensor level.
I’d explain in more detail, but they do a much better job in this interactive lesson.
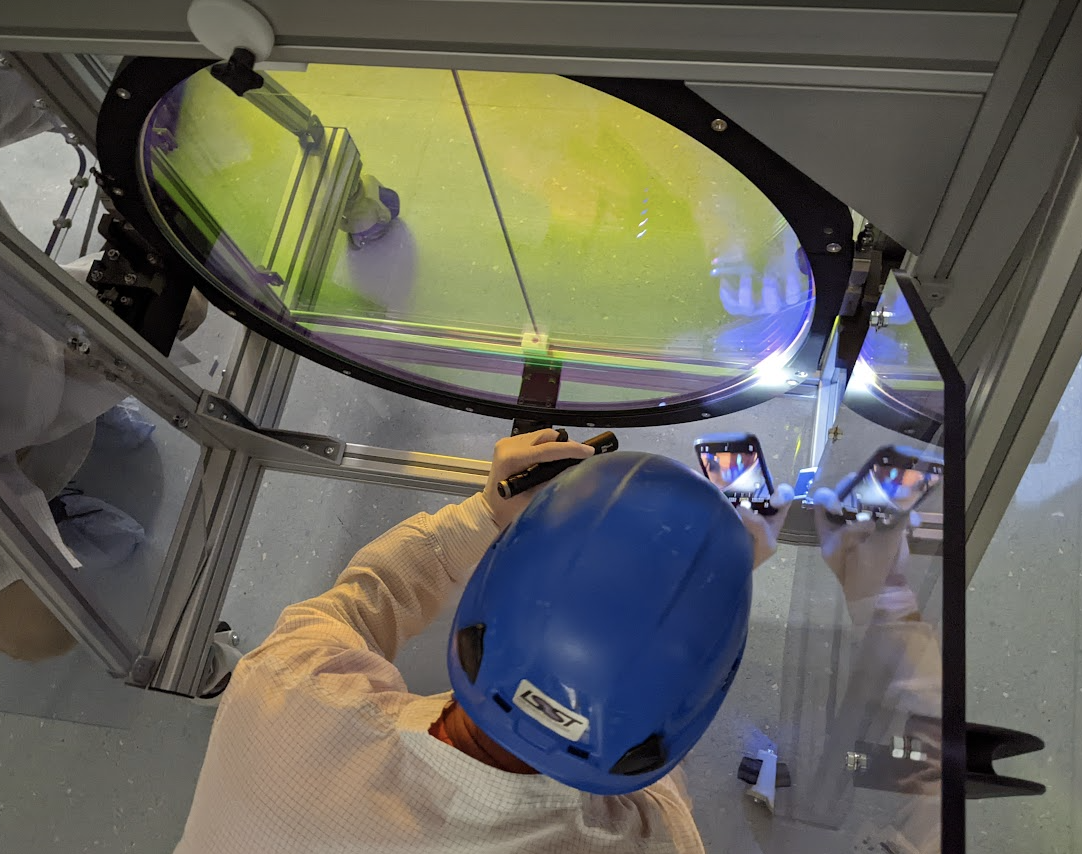
The unpacking process is stressful not because it’s complicated, but because these filters are so delicate and so incredibly valuable. The smallest scratch on the coating or the glass itself is an entire pixel (or more) that is now no longer useful for the entirety of the ten-year survey. Talk about a lot of pressure.
When we packed up these filters at SLAC, we had to get them out of their workbench and lowered into a clear plastic case, then wrapped up into a few layers of special plastic and placed in the foam-lined shipping crate.

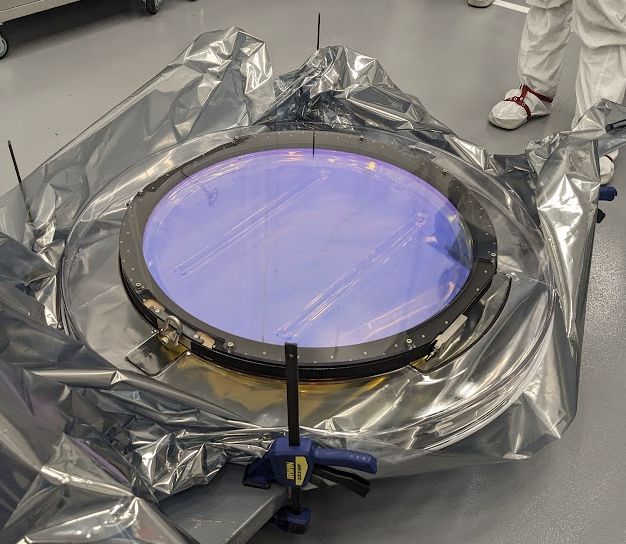
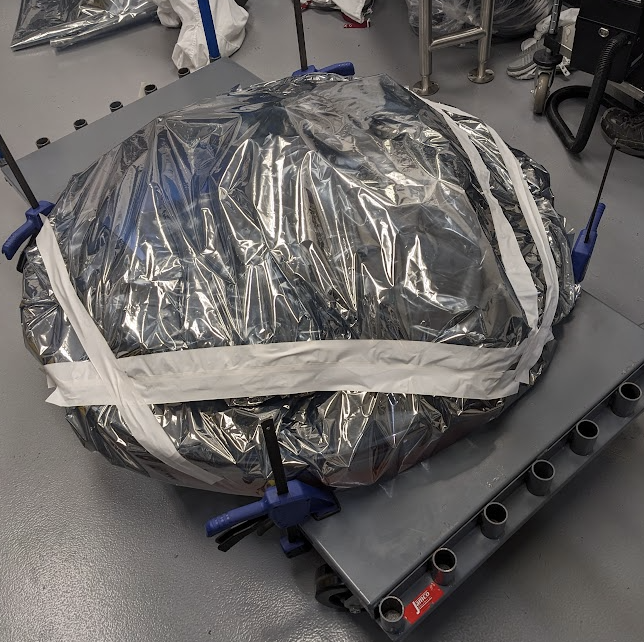
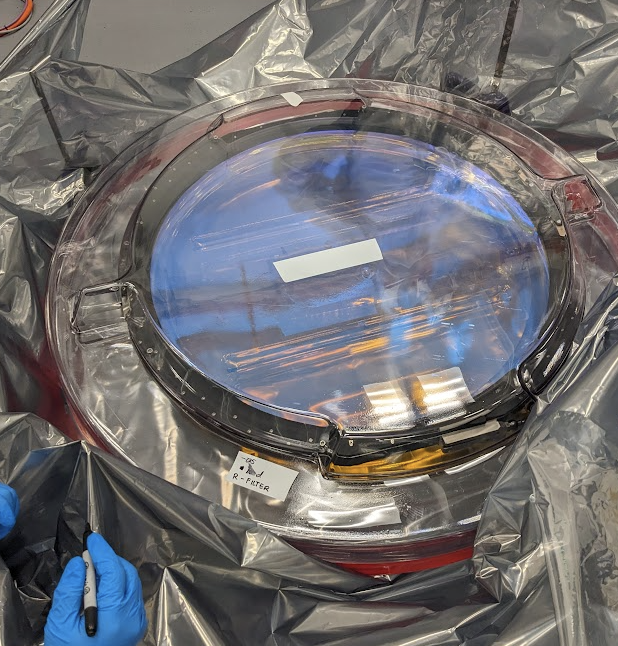

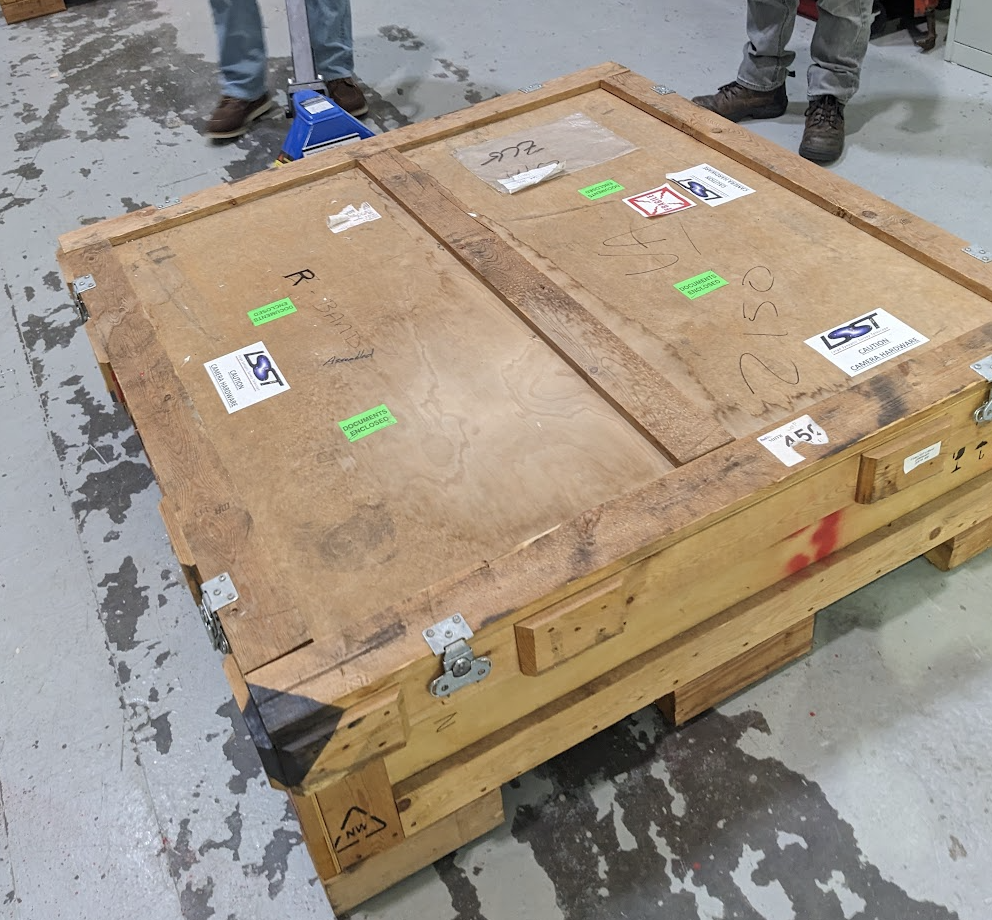
The unpacking is basically the reverse but I don’t have as many photos of that so you’ll have to use your imagination. I do, however, have a fun timelapse of the unpacking sequence that happens once the filter is already in the clean room:
The filters get a lot of attention because they’re arguably the prettiest part of the camera. It’s a bummer that they’re housed inside the camera body structure and can’t be seen while the camera is actually operating. Except for the filter that’s in front of the sensors, of course. But the rest are hidden on the carousel, only to be seen when we’re switching out or cleaning filters. Good thing we took some pictures while we could.


Leave a comment